![]()
This feature allows any kind of admin to email invitations to individuals so that they may sign in easily at your premises at the nominated date and time.
There are four sign in methods for invitees:
A: Scanning a Phone Wallet QR badge (at a Kiosk)
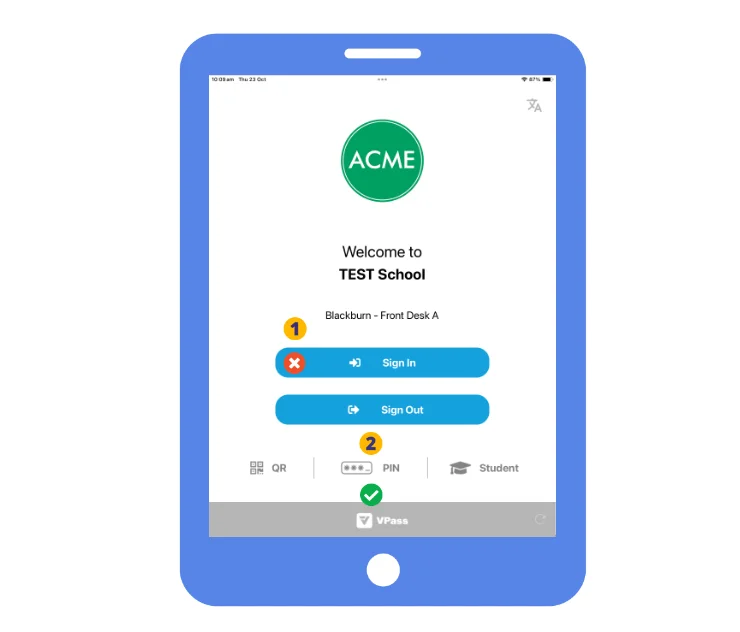
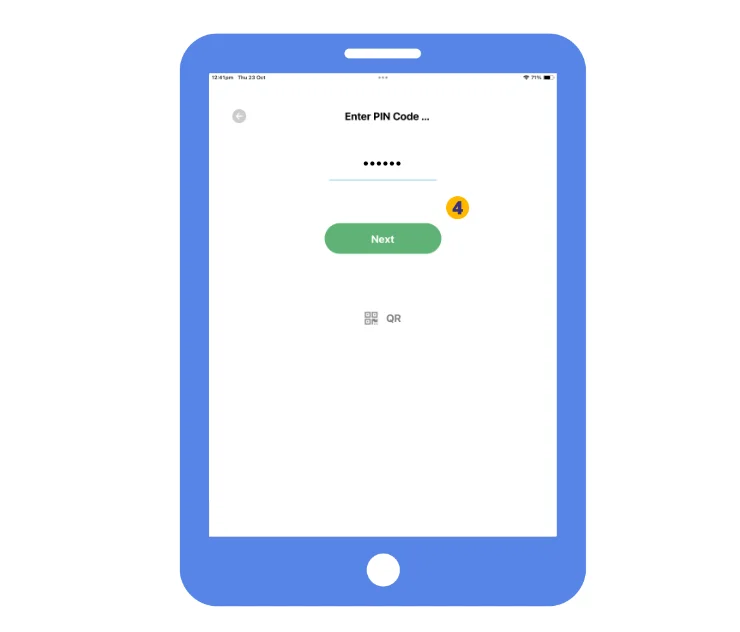
B: Entering a PIN Code (at a Kiosk)
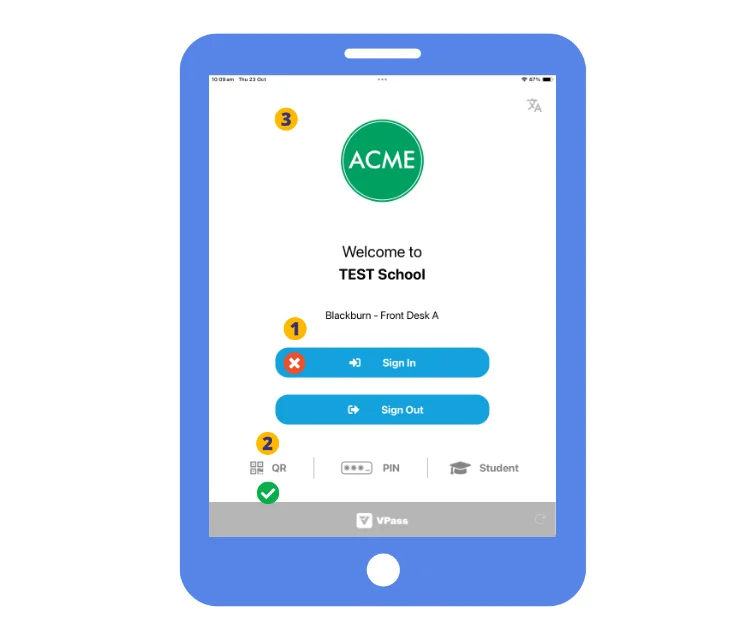
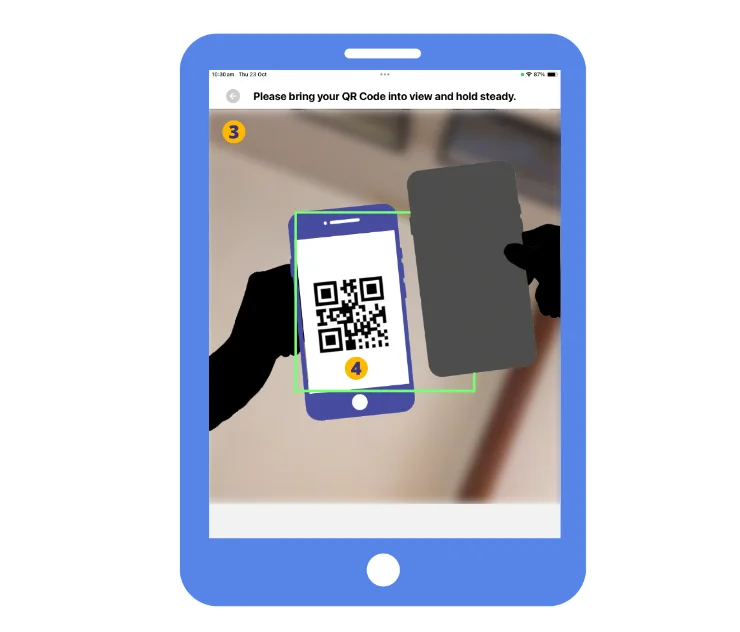
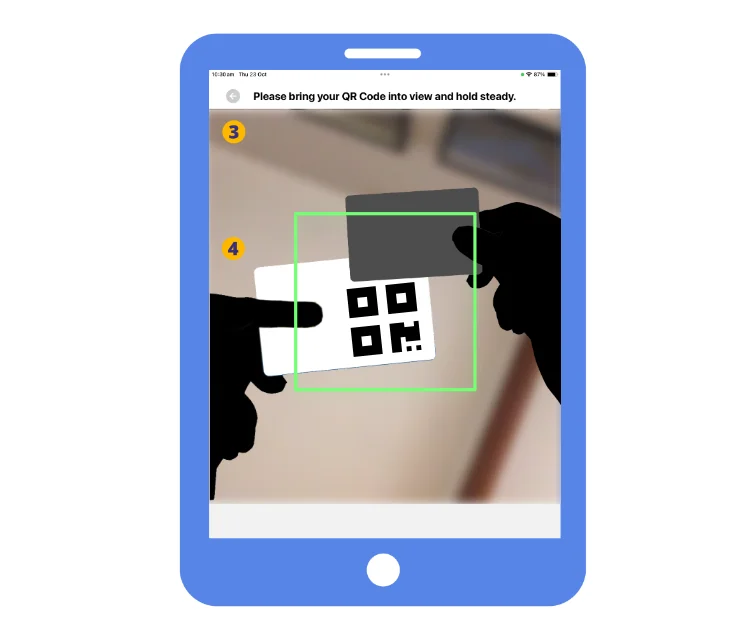
C: Scanning a QR Code badge (at a Kiosk)
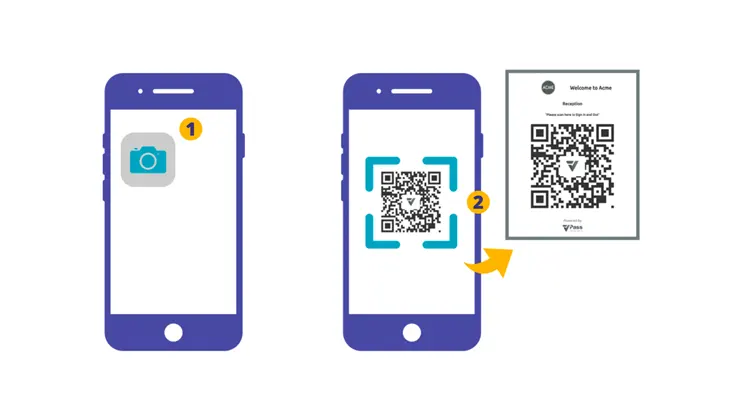
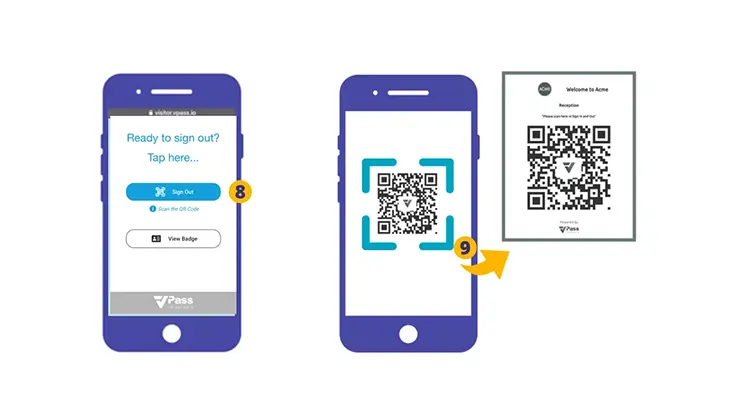
D: Phone Sign In (using their device to scan a QR code poster) …and enter a PIN Code
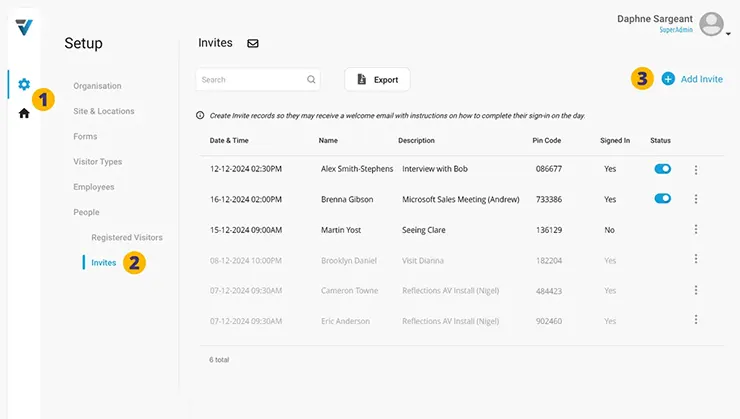
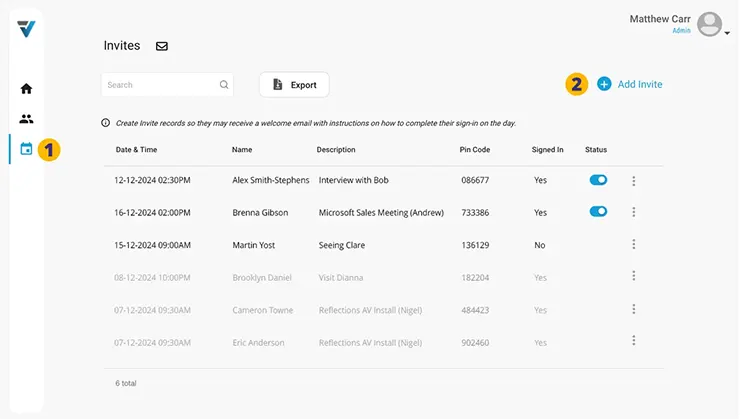
To create an Invite record…
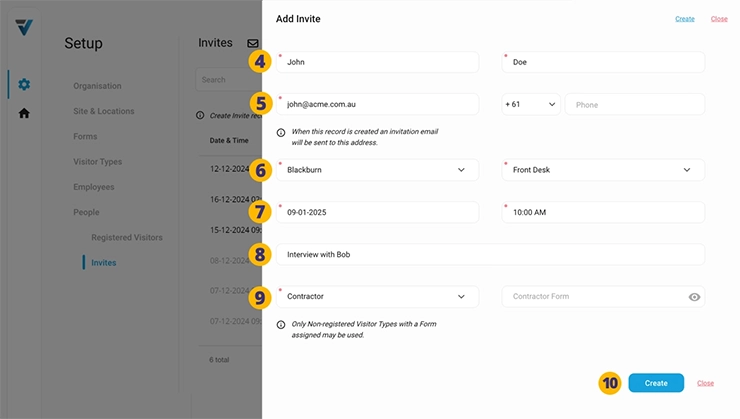
Next, a sidebar will appear on the right hand side…
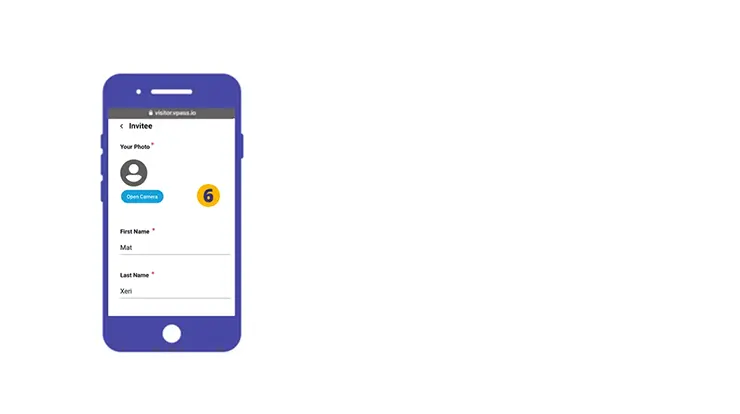
4. Enter the invitee’s First Name and Last Name.
5. Enter the invitee’s Email Address. A welcome email will be sent here with the appointment details and instructions on how to sign in. Additionally the recipient may add the event to a Calendar or mobile phone Wallet.
6. Specify the VPass Site & Location where the invitee will be signing in.
7. Specify a Date and Time.
8. Optionally a description may be added, detailing the reason for the visit eg: “Interview with Bob”.
9. Finally select the Visitor Type you would like the Invitee to sign in under eg: “Visitor” or “Contractor”.
Once the Visitor Type is selected, the Form associated with that Visitor Type is listed adjacent.
10. Click Create.
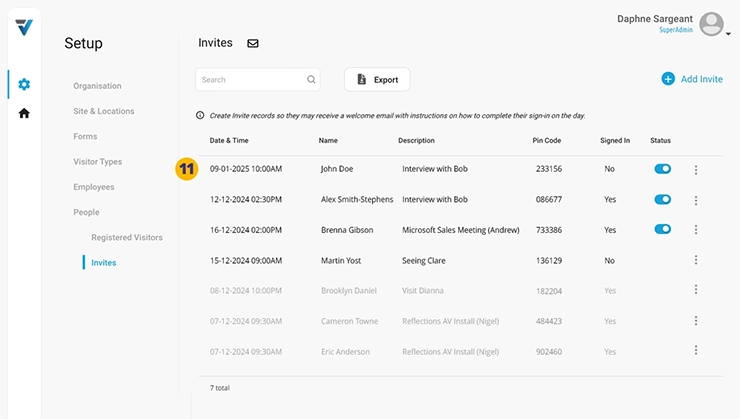
The new record is listed at the top of the Invites page (11).
At the same, the invitee will receive an email like the one pictured below that details:
12. Invitation details.
13. How to sign in using their digital wallet at a Kiosk.
14. How to sign in using their unique six digit PIN code at a Kiosk.
15. How to sign in scanning their QR code at a Kiosk.
16. How to use a mobile phone camera to scan a QR code poster at the location and use their unique PIN code to complete the sign in.
17. An option to add the invitation to their Google calendar etc.
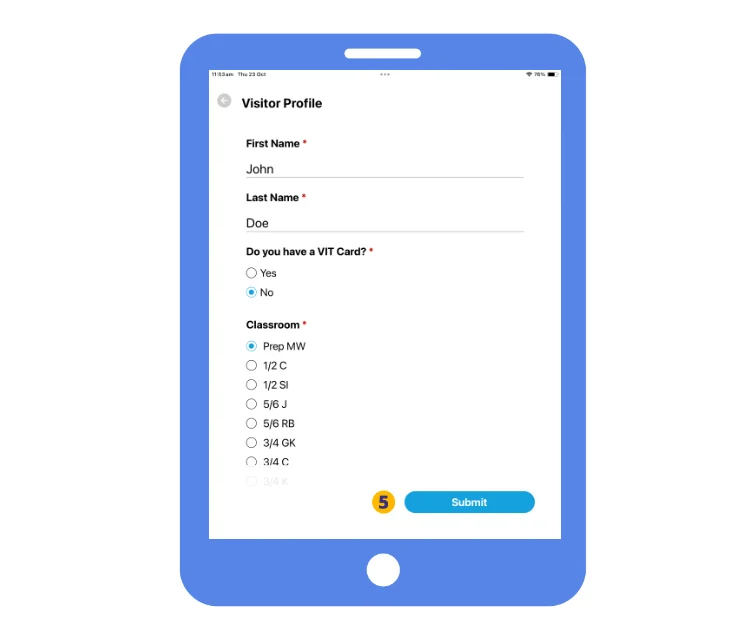
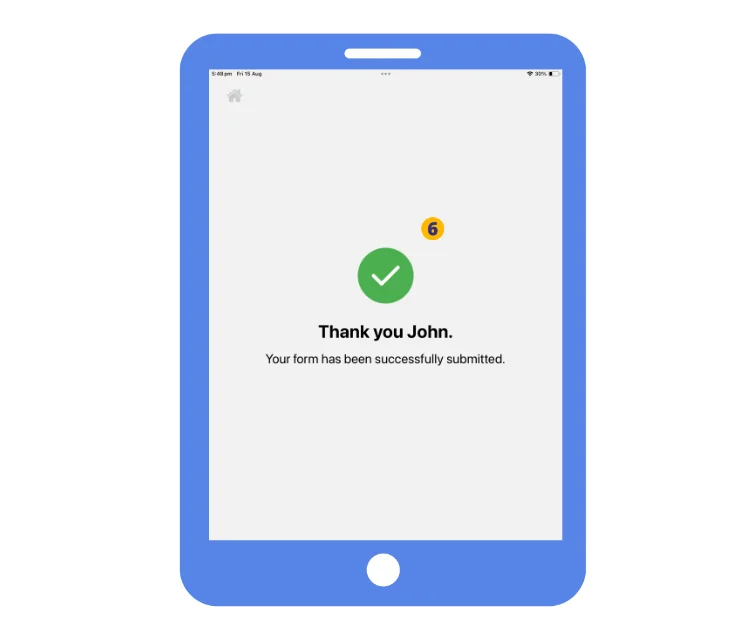
For an invitee to do an actual sign in at your premises, the procedure for each of the four methods is detailed here:
Management of Invitee records
Here are some key points regarding the Invitee list page.
• Records are held for 7 days only after an invitation has occurred.
• Invitee sign ins appear on your Reports page in the normal way and are held for 12 months.
• At any time, use the Export button to generate a .csv file of your current records.
• To find an invitee’s PIN code you may type their surname into the search box and view it in the listing.
• An Invitee record may be duplicated by using the three dots menu on the right hand side of the listing. This is handy if you have repeat visitors.
V3-110

