![]()
Installed on a Windows print server or Windows PC, the VPass Printer Application will allow you to print badges for visitors signing in. We recommend using the Brother QL-820NWB, however other printers will likely work as well.
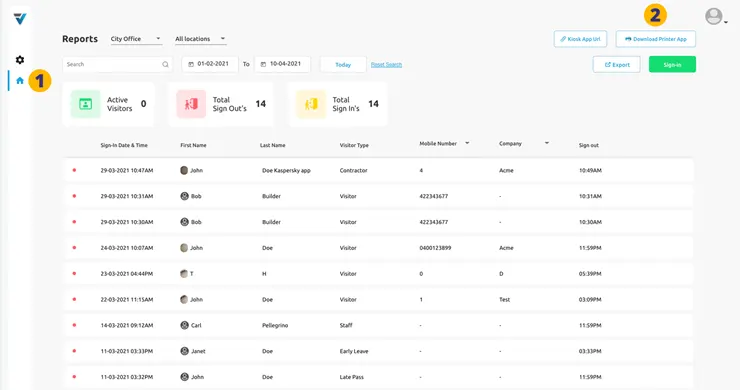
To install the Windows VPass.exe file please go to your admin Reports page (home icon) (1). Click the Download Printer App button to download the .exe file (2).
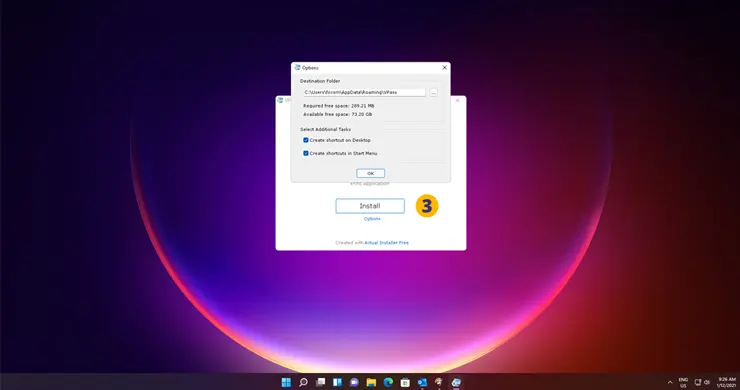
Extract and install the .exe file to your preferred location (3).
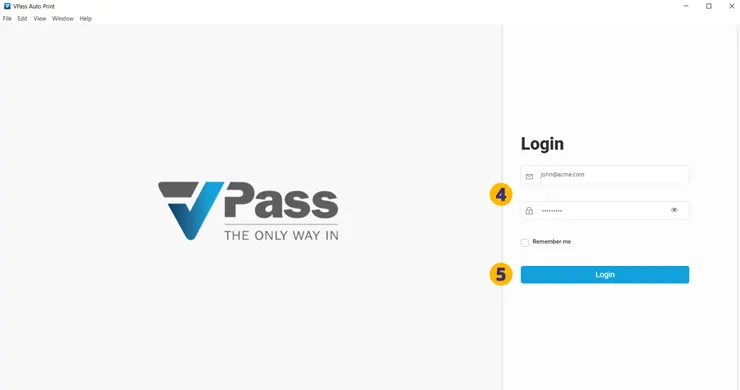
The file will open as the “VPass Auto Print” Windows App. Enter your admin login details (4) and hit the Login button (5).
Then, enter in your Site (6) and Location (7) where the printer will be used.
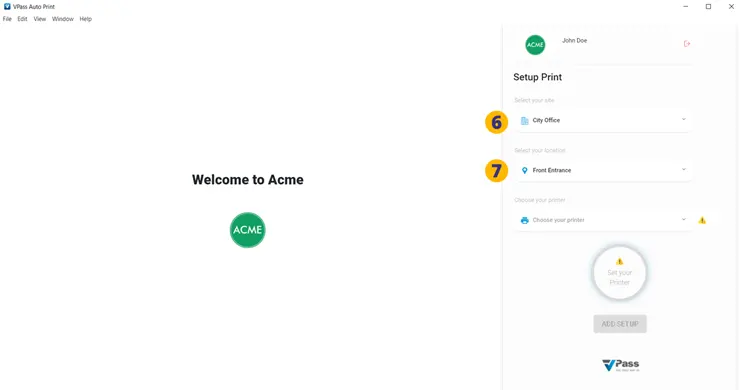
Next, ensure that your printer is turned on and is using the same network that the Windows print server or Windows PC is using. NB: The kiosk tablet you may be using can be on any network as it only displays web pages sourced from your admin dashboard cloud account (eg: dashboard.vpass.io). The Windows Printer App communicates “Listens” to the cloud account, not the kiosk tablet.
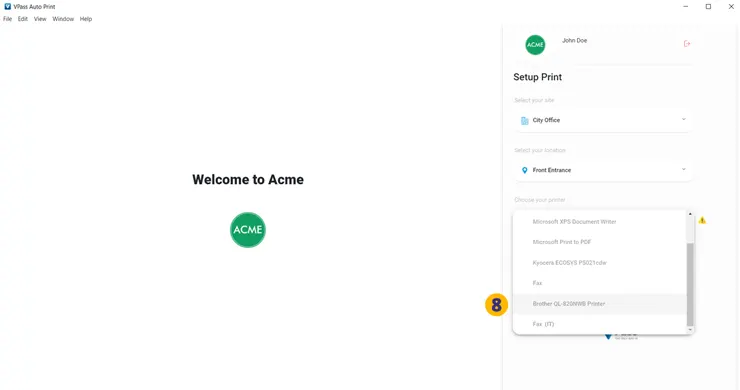
8. Select your printer.
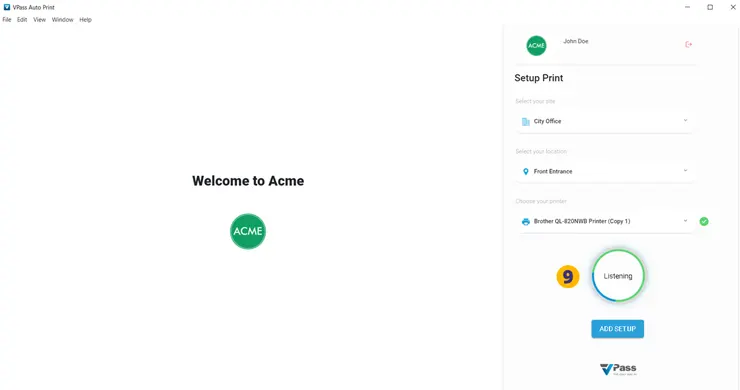
9. The “VPass Auto Print” Windows App will now display the Listening state. Assuming that the “Auto Print Badge” feature is turned on for the required Visitor Type(s), then the badge should print within a few seconds of the sign in being completed.
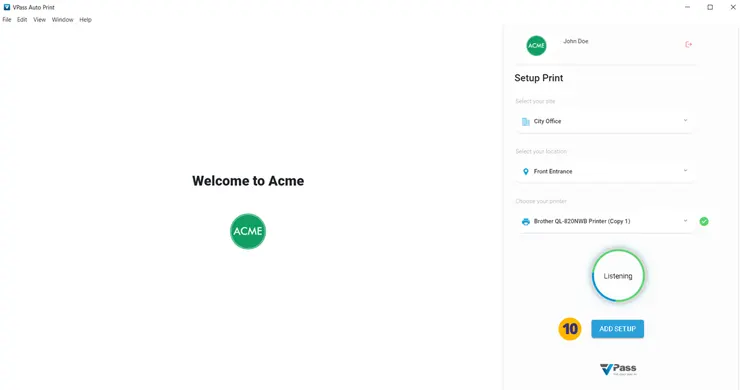
To compete click the Add Setup button (10).
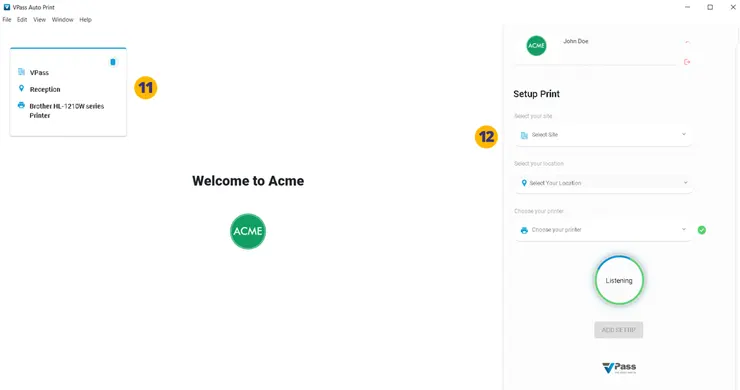
11. Your newly setup printer is listed here.
12. To add additional printers repeat steps 6 to 10.
Please note: The “VPass Auto Print” Windows App needs to be left open and running. If the software is shut down – it will no longer be able to print to the printer. However, when the PC/print server is rebooted it will automatically log in, boot up and connect to the previous print settings.
Further Adjustments
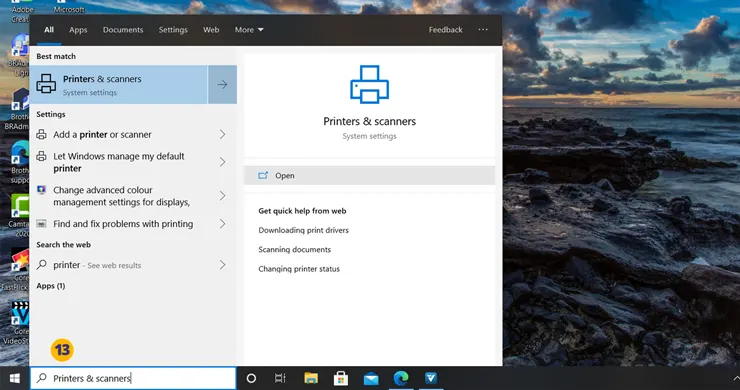
13. You may need to tweak a few settings in the Brother QL-820NWB Printing Preferences page. The page can be reached by going to your Windows system settings, open your Printers and scanners page.
14. Manage the QL-820NWB printer.

15. Select Printing Preferences.
16. Adjust the Paper Size to the “62mm” option… and set the length to 130mm with a feed of 3mm.
Additional Settings:
• Paper Type: Monochrome
• Orientation: Portrait
• Quality: High Resolution
• Also check the boxes for Cut every 1 label, Cut at end and Trim tape after data.

Click to see enlarged version here: 
17. You may also wish to adjust the brightness and contrast to gain a clearer image.
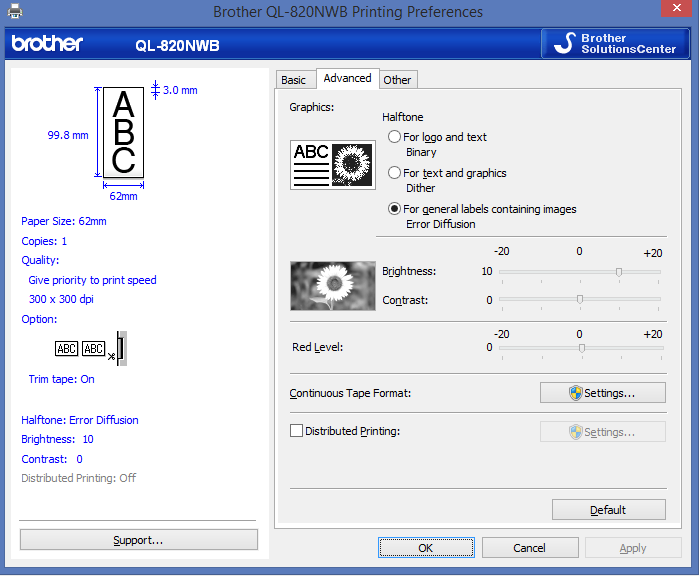
Click to see enlarged version here:
Whitelisting
You may need to whitelist the following URLs on your PC or print server. These vary according to your country:
V3-030-C